How to Calculate Suspension Sag
Sag – it may only be a three letter word, but it plays a huge role in how your full suspension bike rides. When you sit on your bike, your rear shock will sink a certain amount into it’s travel – this is referred to as sag. The amount of recommended sag will vary depending on the type of bike that you ride. Typically, enduro/trail bikes fall between 25% – 35% recommended sag, while downhill bikes can be up to 40% recommended sag. At the other end of the spectrum, short travel cross country bikes are going to be closer to 20% – 30% recommended sag. These numbers are just guidelines though, and may vary depending on suspension kinematics, leverage ratios, and other factors. With the exception of downhill bikes, most other full suspension bikes are running air shocks these days. And many of these air shocks have laser-etched guides showing exactly where you sit in your travel, which takes the guesswork out of the sag calculation. Simply sit on the bike with your geared-up weight, and see where your sag ring ends up. Be sure not to bounce up and down, as this will not provide an accurate sag measurement. You can then adjust your air pressure up or down to hit your exact target sag percentage. But what if your rear shock doesn’t have those sag measurements etched? Or what if you’re trying to measure sag on a downhill bike with a coil shock? You can try to eyeball the percentage of sag, and generally that will work okay. But if you’re a perfectionist like us, “pretty close” isn’t good enough. Many of us here at Fanatik are pretty particular about the amount of sag we prefer, depending on which bike it is we’re riding. Calculating sag may seem daunting, but it’s actually pretty easy. I’ve broken it down into four easy steps. You’ll need a ruler or measuring tape with millimeters, a buddy, a calculator, and most likely a shock pump.
STEP 1 – DETERMINE YOUR TARGET SAG
The first step to the sag calculation is determining your target sag. Target sag is a percentage that is generally recommended by your bike manufacturer, so it’s best to check with them if you’re not sure. As I said above, rough guidelines are as follows:
- XC bikes (80 – 120mm travel): 20% – 30% sag
- Trail/Enduro bikes (120 – 170mm travel): 25% – 35% sag
- Downhill/Freeride bikes (170mm or more travel): 33% – 40% sag
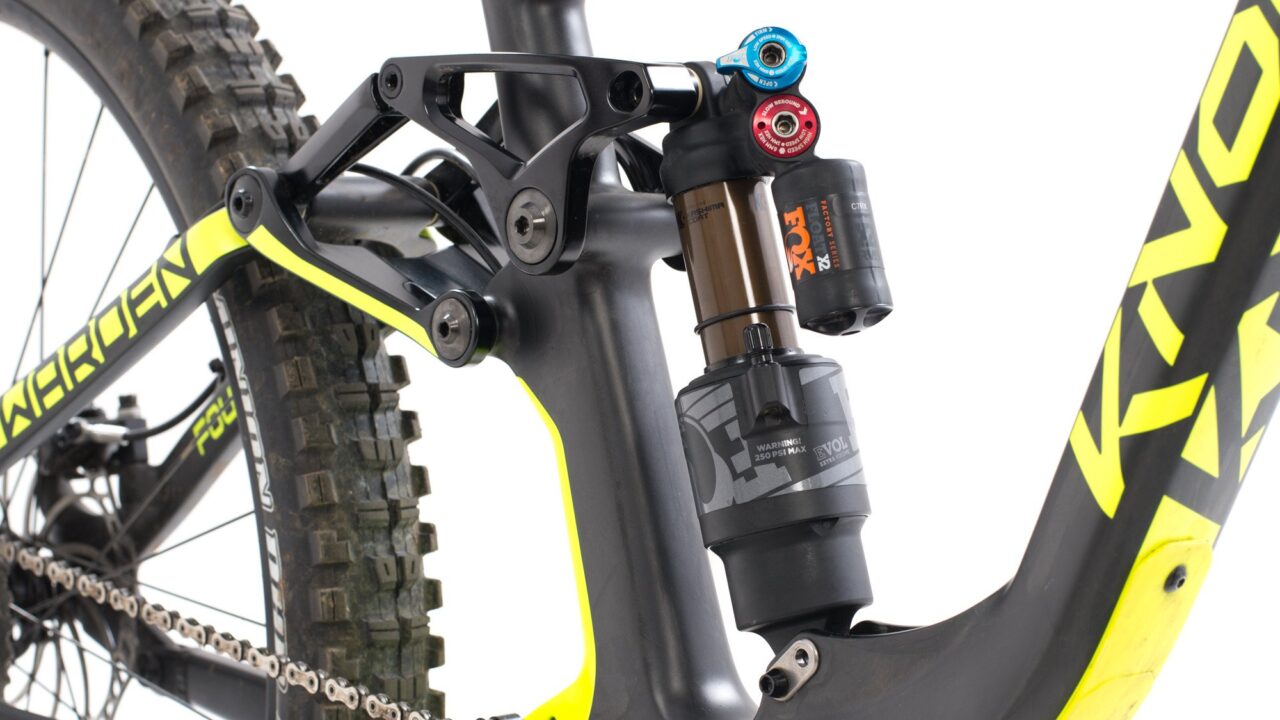
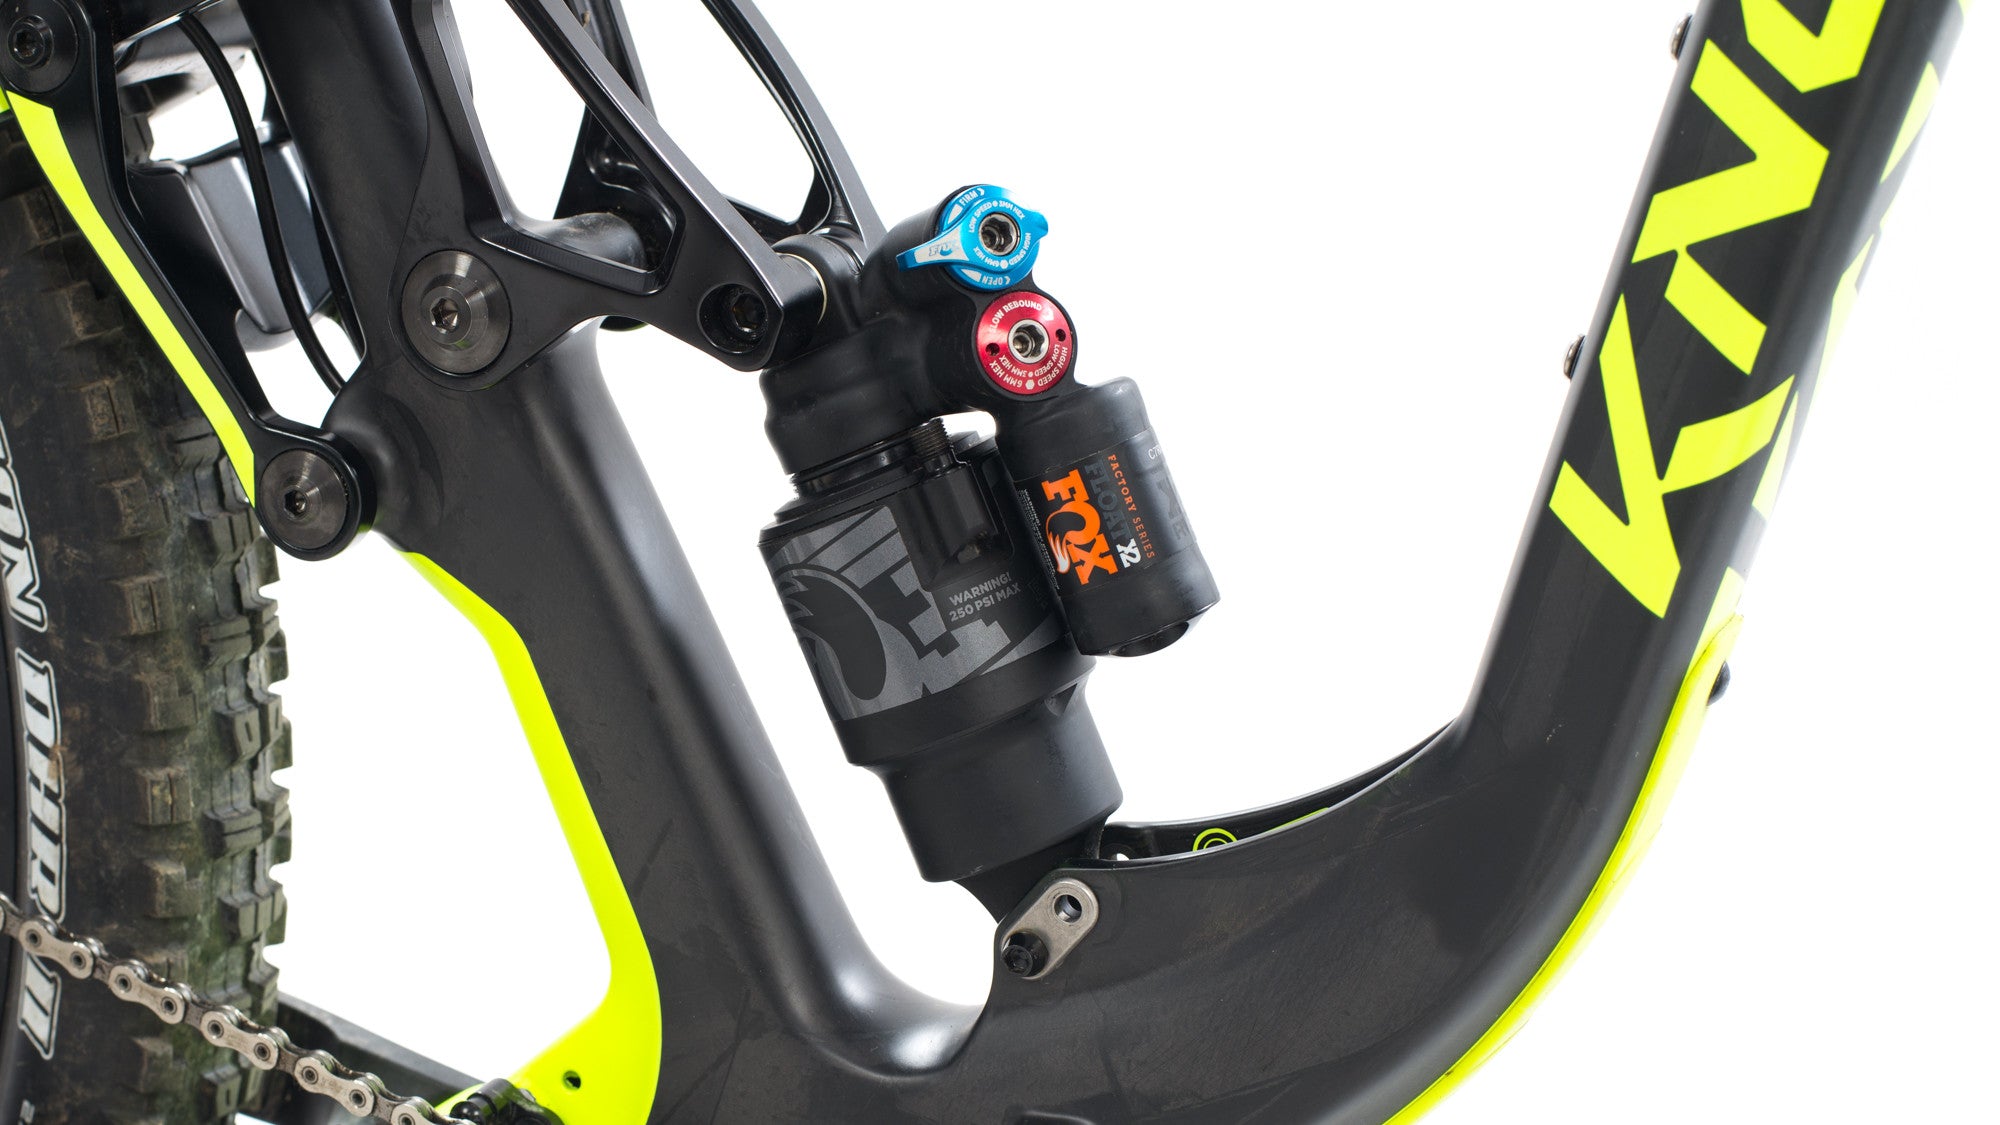
For the purpose of this test, we’re going to calculate sag on a Knolly Warden Carbon. The target sag percentage for this bike is 28%.
STEP 2 – MEASURING YOUR SHOCK
The next step involves taking some measurements on the rear shock itself. We are measuring the eye-to-eye and stroke lengths of the shock. These measurements can generally be found on the manufacturer’s website, but if you can’t find them, I will show you how to measure. For the purpose of accuracy, I am measuring in millimeters. First measure the un-sagged eye-to-eye length on your rear shock. This is the distance measured from the center of your lower shock bolt to the center of your upper shock bolt. On this bike, this measurement is 200mm.
Zero air pressure, shock bottomed out.
Next, measure the stroke length. To make this measurement accurately, it’s best to let all the air out of your rear shock, and compress the bike until it reaches bottom-out. Most bikes bottom out at the bottom of the stroke, but some bottom out before they reach the end of their stroke. Mark that point on the shock shaft, or use the sag ring on shock, then decompress the bike and measure the distance from the top of the exposed shaft to the point your marked at bottom-out. This is your stroke length. The stroke length on this bike is 57mm.

STEP 3 – CALCULATE TARGET SAGGED EYE-TO-EYE
Multiply your stroke length by your target sag percentage. For this bike, the calculation would be 57mm x 0.28, which equals 16mm. Now subtract that number from your un-sagged eye-to-eye measurement. This calculation would be 200mm – 16mm which equals 184mm. That number is your target sagged eye-to-eye measurement.
STEP 4 – ACHIEVING TARGET SAG
Sit on your bike again with your normal geared-up weight, and have a friend measure your sagged eye-to-eye distance. Again, your striving to be as close to that final number we just calculated in the last step. In my case, I’m going for 184mm. If you’re number is too high, that means you have too much pressure in your shock, and you need to reduce the air pressure. I recommend reducing pressure in 10 psi increments until you reach your target measurement. If you’re using a coil shock, that means you either need to dial back your preload collar, or get a lighter spring. If the number is too low, that means you need increase air pressure to reach your target measurement. Or if you’re using a coil shock, you will need to either dial down your preload collar, or get a stiffer spring.

Napsat komentář